
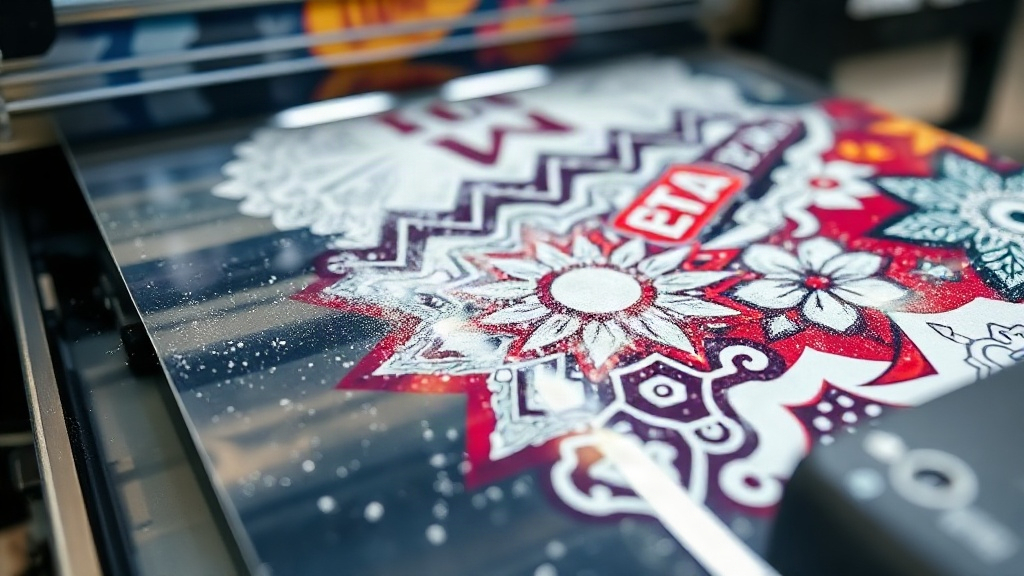
If you've been exploring custom apparel decoration lately, you've likely encountered DTF printing. Short for Direct-to-Film, this technology has quickly become a favorite among small business owners, crafters, and hobbyists alike. Unlike traditional methods that require specialized equipment or messy screens, DTF offers a streamlined workflow that produces vivid, long-lasting designs on a wide range of fabrics. In this guide, we'll walk you through everything you need to know about DTF printing, from the basic process to advanced tips, so you can decide if it's right for your next project.
What Exactly Is DTF Printing?
At its core, DTF printing involves printing a design onto a special film, coating it with adhesive powder, and then transferring it to a garment using a heat press. The magic lies in the film: it holds the ink and powder in place until heat and pressure fuse them permanently to the fabric. This method eliminates the need for weeding (like vinyl) or color separation (like screen printing), making it incredibly efficient for both small and large runs.
The process typically uses a specialized DTF printer equipped with pigment inks (often CMYK plus white). The white ink layer is crucial because it allows the design to show up on dark garments without a base layer. After printing, the film is dusted with a thermoplastic powder, which acts as the adhesive. Once the excess powder is removed, the film is cured (usually with a heat gun or in an oven) to melt the powder into a smooth, dry layer. Then it's ready to press onto your chosen substrate.
Why DTF Has Become So Popular
Several factors contribute to the rise of DTF printing. First, versatility: you can apply DTF transfers to cotton, polyester, blends, and even some treated leathers. That's a huge advantage over DTG (direct-to-garment), which works best on 100% cotton. Second, durability: when applied correctly, DTF prints withstand dozens of washes without fading or cracking. Third, cost-effectiveness: for short runs, DTF is far cheaper than screen printing because you don't need to create screens. And for full-color designs, it's more affordable than vinyl cutting, which requires layering multiple colors.
Another key benefit is the ability to print fine details and gradients. Unlike vinyl, which can only handle solid colors, DTF reproduces photographs and complex artwork with impressive accuracy. This opens up creative possibilities for personalized gifts, team uniforms, and fashion apparel.
Step-by-Step DTF Printing Process
Curious about how it all comes together? Here's a breakdown of the typical DTF workflow.
1. Design Preparation
Start with your artwork in a digital format (PNG, JPEG, or vector). Ensure the design is mirrored horizontally if your printer requires it (most DTF printers print in reverse so that the final transfer reads correctly). Use RIP software to manage color profiles and white ink layering. The white layer acts as an underbase, so it should be placed behind the colored inks in the print order.
2. Printing onto Film
Load the DTF film into your printer. The printer lays down the white ink first (if printing on dark garments) followed by CMYK inks. Some printers have a separate white ink channel, while others use a single printhead for all colors. The film is coated with a release layer that allows the ink to transfer later.
3. Powder Application
While the ink is still wet, sprinkle the thermoplastic powder evenly over the printed area. You can do this manually or with an automatic shaker. Gently shake off excess powder; you want a thin, consistent layer. Any clumps will affect the final feel and durability.
4. Curing
Melt the powder using a heat source. A heat gun works for small batches, but a conveyor oven or dedicated DTF curing oven is better for consistent results. The powder should turn glossy and smooth, indicating it has melted. Let the film cool completely before stacking or storing.
5. Heat Pressing
Set your heat press to around 160°C (320°F) with medium pressure. Place the transfer face-down on the garment, cover with a protective sheet, and press for 10-15 seconds. Remove the film while it's still warm (peel warm) for best results. Some films require a cold peel, so always test first.
Materials You'll Need for DTF Printing
To get started, gather these essentials:
- DTF printer (or outsource to a service)
- DTF film (PET film with release coating)
- Thermoplastic powder (TPU-based, fine grain)
- Heat press
- Heat gun or curing oven
- RIP software
- Pigment inks (CMYK + white)
- Protective sheets (Teflon or parchment)
If you're not ready to invest in a printer, many companies offer DTF transfer services where you send your design and receive ready-to-press transfers. This is a great way to test the waters.
Common Challenges and How to Overcome Them
Like any printing method, DTF has its quirks. Here are a few issues you might encounter and how to fix them.
Weak Adhesion
If the transfer peels off after washing, it's likely due to insufficient pressure, incorrect temperature, or too little powder. Ensure your heat press is calibrated and apply even pressure. Also, make sure the powder is fully melted and the film is pressed long enough.
Faded or Dull Colors
This often happens if the white ink layer is too thin or if the colored inks are printed too lightly. Adjust your RIP settings to increase ink density. Also, using high-quality film and powder can make a big difference.
Powder Clumping
Clumps create rough spots on the transfer. Store powder in a dry environment and sift it before use. An automatic shaker helps distribute powder evenly.
DTF vs. Other Printing Methods
How does DTF stack up against DTG, screen printing, and vinyl? Let's compare.
- DTG: Best for 100% cotton, no minimums, but colors may appear muted on dark shirts without pretreatment. DTF works on more fabrics and produces brighter colors on darks.
- Screen Printing: Cost-effective for large orders, but setup costs are high and color changes require new screens. DTF excels for small batches and full-color designs.
- Vinyl: Great for simple text and single-color logos, but layering multiple colors is time-consuming. DTF handles complex art in one go.
Each method has its place, but DTF offers a sweet spot of versatility, quality, and affordability for many applications.
Tips for Getting the Best Results with DTF
Ready to elevate your DTF game? Keep these tips in mind:
- Always do a test press on a scrap garment to dial in your settings.
- Store unused film in a cool, dry place to prevent curling.
- Use a lint roller on the garment before pressing to remove dust and fibers.
- Pre-press the garment for a few seconds to remove moisture.
- For stretchy fabrics, use a stretchable DTF film and powder.
- Clean your printer's printhead regularly to avoid clogs.
Frequently Asked Questions About DTF Printing
How long do DTF prints last?
With proper application and care, DTF prints can last 50+ washes without significant fading or cracking. Turn the garment inside out and wash in cold water to extend longevity.
Can I use DTF on 100% polyester?
Yes, DTF works well on polyester, but you may need to lower the pressing temperature to around 140°C (285°F) to avoid scorching. Always test first.
Do I need a special printer for DTF?
You can convert some inkjet printers to DTF, but dedicated DTF printers are recommended for reliability and print quality. They are designed to handle the white ink and film feeding mechanism.
Is DTF printing cost-effective for small orders?
Absolutely. Unlike screen printing, there are no setup fees, so DTF is ideal for one-off items or small batches. The cost per transfer is reasonable, especially when you consider the durability and color vibrancy.
What's the difference between DTF and DTG?
DTF uses a film transfer, while DTG prints directly onto the garment. DTF works on more fabric types and produces more vibrant colors on dark shirts, but DTG can be faster for large runs on cotton.
Whether you're a seasoned decorator or just starting out, DTF printing offers a world of possibilities. With its ability to produce stunning, durable transfers on almost any fabric, it's a skill worth adding to your repertoire. So why not give it a try? Your customers will love the results, and you'll love the flexibility.