
When I first ventured into garment decoration, I was overwhelmed by the options: screen printing, vinyl, sublimation, and more. Then I discovered DTF printing, and it changed everything. DTF, or Direct to Film, is a digital printing method that transfers designs onto fabric using a special film. Unlike other techniques, it works on almost any material, including cotton, polyester, and blends. In this guide, I'll walk you through the entire process, from preparing your artwork to pressing the final transfer. You'll learn the ins and outs of DTF printing, common pitfalls to avoid, and tips to achieve professional results. Whether you're a hobbyist or a small business owner, this guide will help you master DTF printing and expand your creative possibilities.
What Exactly Is DTF Printing?
DTF printing stands for Direct to Film. It's a digital printing technology where your design is printed onto a special film, coated with a powder adhesive, and then heat-pressed onto the fabric. The magic lies in the adhesive powder: it melts under heat, bonding the ink to the fabric. This method eliminates the need for weeding or cutting, making it faster and more versatile than vinyl. Plus, it produces vibrant, durable prints that stretch with the fabric without cracking. Unlike DTG (Direct to Garment), which requires pre-treatment and works best on cotton, DTF printing adheres to a wide range of materials. That's why it's become a favorite among crafters and small businesses.
Why Choose DTF Printing?
There are several reasons why DTF printing might be your go-to method. First, it's incredibly versatile. You can print on dark and light fabrics, and even on unusual items like canvas bags, hats, and leather. Second, the prints are highly durable. When done correctly, they withstand repeated washing without fading or peeling. Third, the setup cost is relatively low compared to screen printing, making it accessible for small runs and personalized items. Finally, the process is straightforward: print, powder, cure, and press. No messy chemicals or complex equipment required. If you're looking to offer custom apparel without a steep learning curve, DTF printing is a solid choice.
Step-by-Step DTF Printing Process
Let's break down the DTF printing process into manageable steps. Follow along to ensure your transfers come out perfect every time.
1. Preparing Your Artwork
Start with a high-resolution image, ideally 300 DPI. DTF printing requires vibrant colors, so use CMYK color mode. If your design has white areas, they'll be printed with white ink, which acts as a base. Make sure to mirror your image horizontally before printing; this is crucial because the film is pressed face-down onto the fabric. Most RIP software will handle this automatically, but double-check. Also, consider the size: DTF printers have maximum widths (usually 13 or 24 inches), so plan accordingly.
2. Printing onto Film
Load your DTF film into the printer, ensuring the correct side is facing up (usually the matte side). Use a dedicated DTF printer or convert an Epson printer with DTF ink and a RIP software. The printer lays down CMYK and white ink in one pass. The white ink is crucial for opacity on dark garments. After printing, the film will have a wet, tacky surface. Handle it carefully to avoid smudging.
3. Applying Adhesive Powder
While the ink is still wet, sprinkle DTF adhesive powder evenly over the design. You can use a shaker bottle for controlled application. Gently rock the film to spread the powder, then shake off the excess. The powder should only stick to the wet ink. Any excess can be reused if collected in a clean container. This step is critical; too much powder leads to a rough texture, too little causes poor adhesion.
4. Curing the Powder
Now, cure the powder using a heat press or a dedicated curing oven. Set your heat press to around 320°F (160°C) and press for 2-3 minutes with low pressure. Alternatively, use a conveyor oven at 320°F for 2-3 minutes. The powder will melt and become glossy, indicating it's cured. Avoid overheating, as it can cause the film to curl or the ink to crack. Once cured, the transfer can be stored in a cool, dry place for later use.
5. Heat Pressing onto Fabric
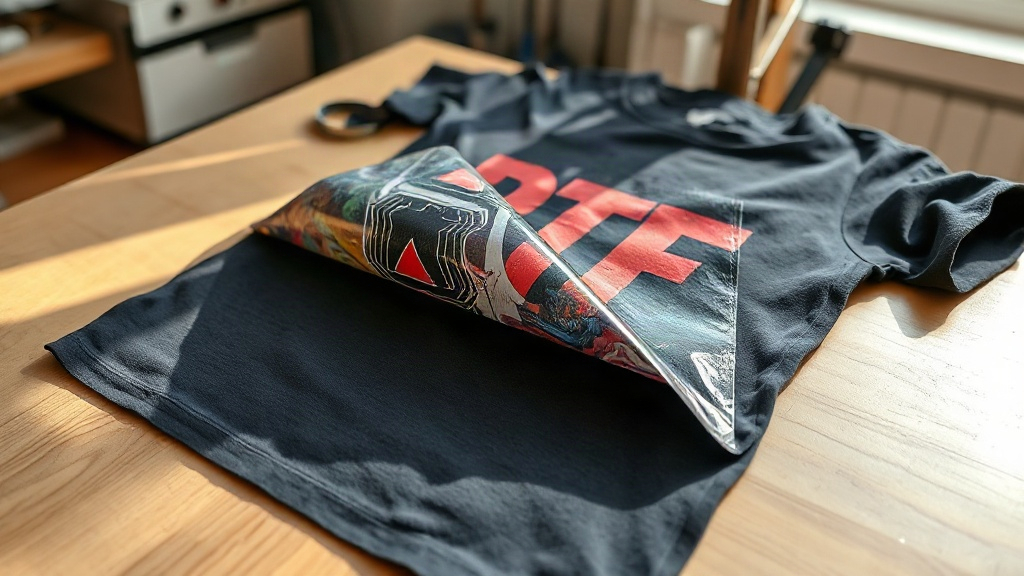
Preheat your heat press to 320°F (160°C). Place your garment on the press, smooth out any wrinkles. Position the DTF transfer face-down onto the fabric. Press for 15-20 seconds with medium pressure. For best results, use a Teflon sheet or parchment paper over the transfer. After pressing, peel the film while it's still warm (warm peel) or let it cool completely (cold peel), depending on the film type. Most DTF films are cold peel, but check the manufacturer's instructions. Finally, press again for 5-10 seconds with a Teflon sheet to ensure a smooth finish. And there you have it: a vibrant, durable print!
Common DTF Printing Mistakes and How to Avoid Them
Even with a straightforward process, mistakes happen. Here are some common issues and their solutions.
- Insufficient powder: If the print peels after washing, you likely didn't apply enough powder. Ensure the ink is fully covered with powder before shaking off excess.
- Over-powdering: Too much powder creates a gritty texture and can clog the printer if it gets on the film. Use a fine mesh shaker and tap off excess gently.
- Incorrect pressing temperature: Too low, and the powder won't melt; too high, and the film may scorch. Invest in an infrared thermometer to verify your press temperature.
- Pressing too long: Over-pressing can cause the ink to spread, resulting in a blurry image. Stick to the recommended time.
- Not pre-pressing the garment: Moisture in the fabric can cause steam and uneven adhesion. Always pre-press for 5-10 seconds to remove wrinkles and moisture.
DTF vs. Other Printing Methods
How does DTF stack up against other popular techniques? Let's compare.
- DTF vs. DTG: DTG works best on 100% cotton and requires pre-treatment. DTF works on almost any fabric, including polyester and blends, and doesn't need pre-treatment. DTG prints directly onto the garment, while DTF uses a transfer film. DTF tends to have more vibrant colors on dark shirts.
- DTF vs. Vinyl: Vinyl requires weeding, which is time-consuming and limited to simple designs. DTF handles complex, multi-color designs with ease and no weeding. Vinyl can be more durable for single-color text, but DTF offers greater design freedom.
- DTF vs. Screen Printing: Screen printing is cost-effective for large orders but has high setup costs and is impractical for small batches. DTF has low setup costs and is perfect for print-on-demand and small runs. However, screen printing may offer a softer feel for large solid areas.
Tips for Success with DTF Printing
To get the most out of your DTF printing, keep these tips in mind.
- Use quality supplies: Not all DTF films and powders are created equal. Invest in reputable brands to avoid frustration.
- Maintain your printer: Regular cleaning and maintenance prevent clogged nozzles and ensure consistent prints.
- Store transfers properly: Keep unused transfers in a sealed bag away from moisture and direct sunlight.
- Test your settings: Every heat press is different. Run test prints to dial in the perfect time, temperature, and pressure.
- Join communities: Online forums and social media groups are invaluable for troubleshooting and learning new tricks.
Frequently Asked Questions
How long do DTF prints last?
With proper application and care, DTF prints can last as long as the garment itself. Wash inside out in cold water and avoid bleach or fabric softeners to prolong life.
Can I use DTF on 100% polyester?
Yes, DTF works great on polyester. However, polyester requires lower pressing temperatures (around 280-300°F) to avoid dye migration. Use a low-temperature DTF powder or a barrier sheet.
Do I need a special printer for DTF?
You can convert an Epson printer with DTF ink and RIP software, or buy a dedicated DTF printer. Dedicated printers are easier to set up but cost more.
What is the best temperature for DTF powder curing?
Typically, 320°F (160°C) for 2-3 minutes. However, always follow your powder manufacturer's recommendations.
Can I layer DTF transfers?
Yes, you can layer DTF transfers, but it's tricky. Press the first transfer, then apply the second on top, pressing again. Use a Teflon sheet to protect the first layer.
Mastering DTF printing opens up a world of possibilities for custom apparel and products. With practice and attention to detail, you'll be producing professional-quality transfers in no time. Remember, the key is in the preparation and the pressing. So, gather your supplies, fire up your printer, and start creating!