
If you're in the custom apparel business, you've likely heard about DTF printing. But have you mastered the art of the DTF gangsheet? This powerful technique can transform your production line, slashing waste and skyrocketing efficiency. In this guide, we'll dive deep into gangsheets, showing you how to leverage them for maximum profit and minimal hassle.
What is a DTF Gangsheet?
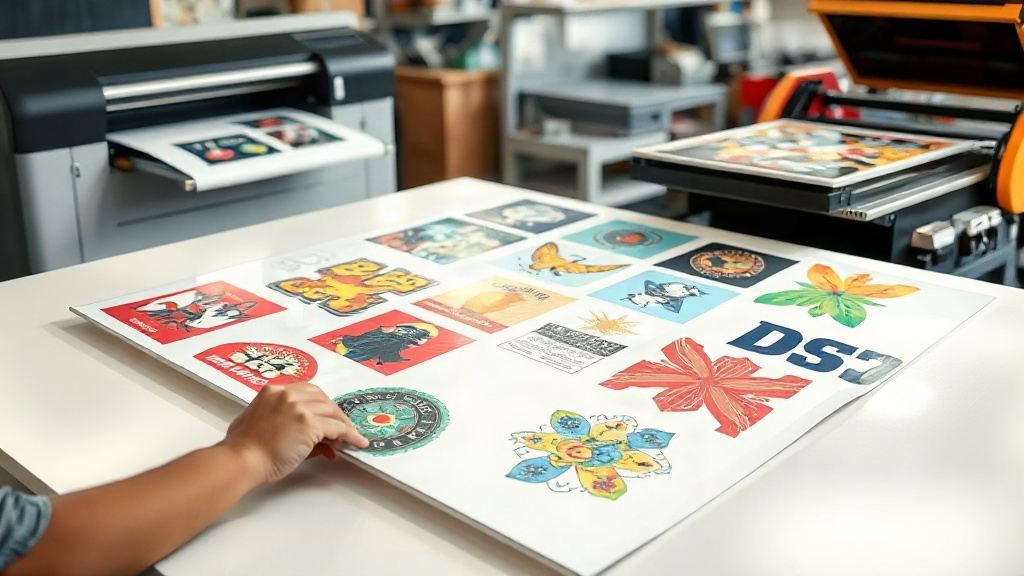
A DTF gangsheet is a single sheet of transfer film that contains multiple designs arranged together. Instead of printing one design at a time, you consolidate many images onto one large sheet, then press them onto garments as needed. Think of it as batch printing for DTF. The term 'gang' refers to grouping multiple jobs together, a concept borrowed from traditional screen printing where multiple screens are 'ganged' onto one press.
Why Use a DTF Gangsheet?
The benefits are compelling, especially for shops handling diverse orders. Here's why gangsheets should be part of your workflow:
- Time savings: Print dozens of designs in one pass instead of loading film repeatedly.
- Cost reduction: Less film waste, lower ink consumption, and fewer setup times.
- Consistency: All transfers on a sheet share the same curing and pressing conditions, ensuring uniform quality.
- Scalability: Easily accommodate large orders or multiple small orders simultaneously.
For a busy shop, these advantages translate directly to higher margins and happier customers.
How to Create a DTF Gangsheet: Step-by-Step
Creating a gangsheet isn't complicated, but it requires careful planning. Follow this process:
- Collect and prepare your designs: Ensure all artwork is in a compatible format (usually PNG with transparent background) and at the correct resolution (300 DPI recommended).
- Choose your sheet size: Standard DTF film comes in rolls, but for gangsheets, you'll cut a piece to fit your printer's platen. Common sizes are 13x19 inches or 11x17 inches, but you can go larger if your printer supports it.
- Arrange designs in your software: Use a layout tool (like Photoshop, Illustrator, or dedicated DTF software) to place designs on a canvas matching your sheet size. Leave at least 0.25 inches between designs for easy cutting.
- Print and powder: Print the sheet using DTF printer, then apply hot melt adhesive powder evenly. Shake off excess and cure under heat.
- Press and store: Cut individual transfers and press onto garments as needed. Store unused transfers in a cool, dry place.
Pro tip: Group similar colors together to minimize ink changes and optimize print speed.
Common Mistakes to Avoid with DTF Gangsheets
Even experienced printers slip up. Watch out for these pitfalls:
- Overcrowding: Packing designs too tightly can cause ink smudging or difficulty cutting. Always leave a margin.
- Inconsistent powder application: Too much powder leads to a rough feel; too little causes poor adhesion. Aim for a thin, even coat.
- Ignoring film orientation: DTF film has a printable side and a non-printable side. Printing on the wrong side ruins the transfer.
- Skipping test prints: Always do a small test to check color vibrancy and adhesion before committing to a full sheet.
Maximizing Efficiency: Advanced Gangsheet Strategies
Once you're comfortable with the basics, try these tactics to squeeze even more value from your gangsheets:
- Nesting: Rotate and nest designs to fill gaps, reducing wasted film.
- Standardize sizes: If you frequently print popular sizes (e.g., 10-inch wide logos), create templates with pre-set positions.
- Batch by color profile: Group designs with similar color profiles to maintain consistent output and reduce printer adjustments.
- Use software automation: Some RIP software can auto-arrange designs for optimal sheet usage.
The Future of DTF Gangsheets
As DTF technology evolves, gangsheets are becoming more sophisticated. We're seeing AI-powered layout tools that automatically optimize sheet usage, and printers with larger platens to accommodate bigger gangsheets. Keeping an eye on these trends can give you a competitive edge.
Frequently Asked Questions
What is the ideal spacing between designs on a DTF gangsheet?
Leave at least 0.25 inches (6mm) between designs. This prevents ink from bleeding into adjacent designs and makes cutting easier. For designs with fine details, increase spacing to 0.5 inches.
Can I reuse a DTF gangsheet after pressing?
No, DTF transfers are single-use. Once pressed, the adhesive and ink are transferred to the garment, leaving the film unusable. Always print fresh sheets for each batch.
How do I store DTF gangsheets before use?
Store them in a cool, dry place away from direct sunlight. Ideally, keep them in a sealed bag or container to prevent dust and moisture from affecting the adhesive powder. Use within a few weeks for best results.
What printer is best for DTF gangsheets?
Any DTF printer with a platen large enough to hold your desired sheet size works. Popular models include those from Epson (converted), Roland, and dedicated DTF printers from brands like Vivid. Ensure your printer supports roll or sheet feeding for flexibility.
How many designs can I fit on one gangsheet?
It depends on design size and sheet dimensions. For example, a 13x19 inch sheet can hold about 20-30 small logos (2x2 inches) or 4-6 medium designs (5x5 inches). Use layout software to maximize space.
Mastering the DTF gangsheet is a game-changer for any custom apparel business. By implementing the tips in this guide, you'll reduce costs, save time, and deliver consistent quality. Start experimenting with gangsheets today and watch your productivity soar.