
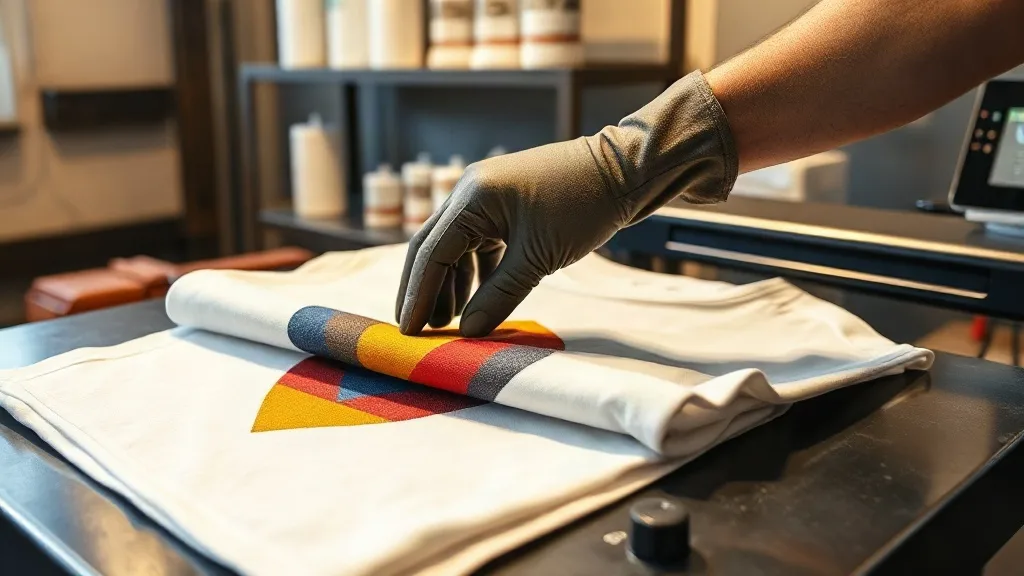
You've probably seen the vibrant, full-color designs that dtf transfers can produce on everything from cotton tees to polyester blends. Maybe you're thinking about adding DTF to your shop or just want to understand how it works before outsourcing. This guide is for you. We'll walk through the entire DTF process, from preparing your artwork to pulling a finished garment off the press. Along the way, I'll share the small details that separate a print that lasts from one that peels after the first wash. Whether you're a one-person operation or scaling up, these insights will help you avoid the most common mistakes.
What Is DTF Printing and Why It Matters
DTF stands for Direct to Film. It's a printing method where your design is printed onto a special film, coated with adhesive powder, and then heat-pressed onto fabric. Unlike DTG, which prints directly onto the garment, DTF allows you to print on a wide range of materials, including cotton, polyester, blends, and even some non-textiles. The process is relatively simple, but it has its nuances. The dtf process gives you the freedom to produce full-color, photographic-quality prints without the need for pre-treatment or special coatings on the fabric.
One of the biggest advantages of DTF is that it works on dark colors and light colors alike. You don't need separate white ink underbase settings like you do with DTG. The white ink layer is built into the film, so you get consistent opacity regardless of the garment color. That's why many small shops are turning to DTF for custom apparel, especially for small batches and one-offs.
Preparing Your Artwork for DTF
Before you even think about printing, your design file needs to be set up correctly. DTF printers use CMYK plus white ink, so your file should be in CMYK mode. If you're using RGB, the colors may shift when printed. Also, make sure your resolution is at least 300 DPI at the final print size. For best results, use vector files or high-resolution PNGs with transparent backgrounds.
Another critical step is to mirror your design horizontally. DTF transfers are printed face-up on the film, and when you press them onto the fabric, the design flips. If you forget to mirror, your text will be backwards. Most RIP software has a mirror option, so double-check that it's enabled.
Choosing the Right Film and Powder
Not all DTF film and powder are created equal. There are hot-peel and cold-peel films, each with its own handling characteristics. Hot-peel film allows you to remove the carrier sheet while the transfer is still hot, which can speed up production. Cold-peel film requires the transfer to cool completely before peeling, which often results in a smoother finish. The choice depends on your workflow and the look you want. As for powder, you'll find fine, medium, and coarse grades. Finer powder gives a softer hand feel but can be trickier to apply evenly. Medium powder is a good all-rounder for most shops.
The DTF Printing Process Step by Step
Here's a quick overview of the workflow, from digital file to finished garment.
- Print the design onto DTF film. Ensure the printer is loaded with the correct film and that the white ink layer is printed behind the color layers. Most printers handle this automatically, but check your settings.
- Apply adhesive powder. While the ink is still wet, sprinkle the powder evenly over the printed area. Shake off the excess and return it to the container for reuse.
- Cure the powder. Place the film in a curing oven or under a heat press (with no pressure) until the powder melts and forms a smooth, slightly glossy layer. The exact time and temperature depend on your powder and equipment, but typically it's around 160-170°C for 2-3 minutes.
- Press onto fabric. Set your heat press to the recommended temperature (usually 150-160°C), place the transfer on the garment with the powder side down, and press with medium pressure for 10-15 seconds.
- Peel the carrier sheet. If using hot-peel film, peel immediately while hot. For cold-peel, wait until it cools completely.
- Post-press (optional). Some operators do a second press with a Teflon sheet or parchment paper for a few seconds to smooth the print and ensure maximum adhesion.
Each step has variables that can affect the final result. Let's dive deeper into the most critical ones.
Mastering the Press: Temperature, Pressure, and Time
The heat press is where most DTF problems occur. If your prints are cracking, peeling, or not adhering properly, the press settings are usually the culprit. Here's what to watch:
- Temperature: Too low, and the adhesive won't activate; too high, and you risk scorching the fabric or melting the film. Always use a reliable infrared thermometer to verify your press's actual temperature, as dials can be off by several degrees.
- Pressure: You need enough pressure to ensure even contact between the transfer and the fabric, but not so much that the adhesive is squeezed out. Medium pressure is typically sufficient. If you see a halo around the design after pressing, that's a sign of too much pressure.
- Time: Pressing for too short a time results in poor adhesion; too long can cause the adhesive to over-cure and become brittle. Start with 10-15 seconds and adjust based on your results.
It's also important to pre-press the garment for a few seconds to remove moisture and wrinkles. Moisture is a silent enemy of DTF; it can cause the powder to clump and the print to fail. So always pre-press your blanks.
Peeling: Hot vs Cold and How to Avoid Mistakes
The peel is the moment of truth. If you peel too early or too late, you can ruin an otherwise perfect transfer. Hot-peel film is designed to be peeled while still hot, usually within a few seconds after pressing. Cold-peel film must be allowed to cool completely, which can take a minute or two. Trying to rush a cold peel will result in the design stretching or tearing.
A common mistake is peeling at an angle instead of flat. Always peel the carrier sheet smoothly and consistently. If you notice that some of the design is lifting with the sheet, stop and re-press for a few more seconds. It's better to over-press slightly than to under-press.
Common DTF Problems and How to Fix Them
Even with careful setup, issues can arise. Here are some of the most frequent problems and their solutions:
Adhesion Failure
If the transfer doesn't stick, check the following: Was the powder fully cured? Was the press hot enough? Did you use enough pressure? Sometimes the fabric itself is the problem; tightly woven fabrics or those with a heavy coating can resist adhesion. In that case, try a longer press time or a higher pressure.
Cracking After Washing
Cracking usually indicates that the adhesive didn't fully penetrate the fabric or that the print was stretched during peeling. Make sure you're using the correct peel method for your film type. Also, washing inside out in cold water and avoiding high heat in the dryer will extend the life of any DTF print.
Faded or Dull Colors
If colors look washed out, it could be due to insufficient white ink or improper curing. Ensure that your printer is producing a dense white layer. Also, check that your curing temperature is within the recommended range for your powder.
Finding Quality DTF Supplies and Services
If you're not ready to invest in a DTF printer, you can still offer DTF prints by ordering transfers from a supplier. When searching for dtf transfers near me, look for providers that offer fast turnaround, high-quality prints, and clear instructions. Many suppliers provide both hot-peel and cold-peel options, so you can choose what works best for your shop. Always request a sample before committing to a large order to ensure the quality meets your standards.
Frequently Asked Questions
How do I store unused DTF transfers?
Keep them in a cool, dry place, away from direct sunlight. Humidity can cause the powder to become sticky, so storing them in a sealed bag with a desiccant pack is a good idea. Avoid folding or creasing the film.
Can I use DTF on 100% polyester?
Yes, DTF works well on polyester, but you need to be careful with temperature. Polyester can scorch at high temperatures, so use a lower press temperature (around 140-150°C) and a shorter press time. Also, some polyester fabrics may require a special low-temperature powder.
What's the difference between hot peel and cold peel DTF film?
Hot peel film allows you to remove the carrier sheet immediately after pressing while the transfer is still hot. Cold peel film requires the transfer to cool completely before peeling. Hot peel is faster, but cold peel often gives a smoother, more matte finish.
Why is my DTF print cracking after washing?
Cracking is usually caused by insufficient adhesion, which can stem from inadequate pressure, temperature, or time during pressing. It can also happen if the print was stretched during peeling or if the garment was washed in hot water. Always follow the recommended washing instructions.
Can I layer DTF transfers?
Yes, you can layer DTF transfers, but it requires some practice. Press the first layer, peel, then press the second layer on top. Use a lower temperature for the second press to avoid disturbing the first layer. It's a good idea to do a test piece first.
DTF printing opens up a world of possibilities for custom apparel. With the right knowledge and a bit of practice, you can achieve professional results that hold up wash after wash. Remember to pay attention to the details: file setup, powder curing, press settings, and peeling technique. And don't be afraid to experiment to find what works best for your shop.