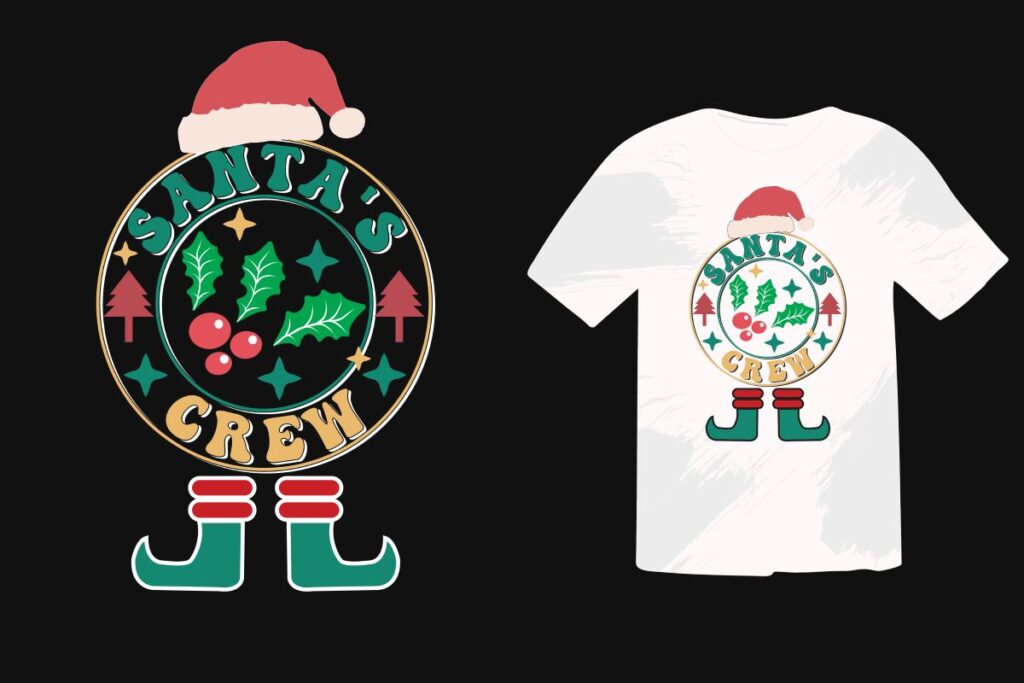
DTF transfers have transformed fabric printing by enabling vibrant designs on a wide range of fabrics with a simpler workflow than traditional methods. If you’re exploring DTF printing basics and want a clear path from concept to finished wear, this guide covers essential DTF transfer steps. You’ll also learn how to optimize heat press settings for DTF and fine-tune printer setup for DTF to get consistent color and durability. Even if you’re new to DIY garment printing with DTF, the step-by-step approach helps simplify the process and reduce trial-and-error. By the end, you’ll understand the core concepts and best practices for durable, vibrant results.
Another way to describe this technology is direct-to-film printing, where a design is printed onto a special film and then transferred to fabric. Often referred to as film-based transfers, the process uses a powdered adhesive and heat to bond the image to textiles. This textile decoration method relies on precise heat application and color management to ensure long-lasting results. For crafters and small businesses, this modern garment decorating technique supports vivid prints on cotton blends and synthetics, offering flexibility across different fabrics. If you are exploring DIY garment printing with the film-based approach, you’ll find a versatile solution that blends art and engineering.
DTF Transfers Demystified: DTF Printing Basics for Beginners
DTF transfers, or direct to film transfers, open a straightforward path from concept to wearable art. Understanding DTF printing basics helps you see why designs print bright on a wide range of fabrics and why the workflow can be simpler than some traditional methods. As you explore, you’ll encounter the core ideas behind the process, including how the design is prepared, printed on special film, and then transferred with heat and pressure. This foundation sets the stage for mastering the essential DTF transfer steps and achieving durable, high-quality results.
To start, get familiar with the equipment and setup that underpins successful DTF projects. You’ll need a compatible printer, white ink or a white underbase, DTF powder adhesive, a curing method, and a reliable heat press. This section also touches on the practicalities of printer setup for DTF, film selection, and color management so your colors stay vibrant from the first print through to the finished garment. With these basics in place, you can begin to apply DTF transfers with confidence using the standard DTF printing basics workflow.
DTF Transfer Steps: From Design to Finished Garment
This section walks through the full journey of a DTF project, highlighting the key DTF transfer steps from concept to garment. Start with preparing your design, then printing on the DTF film, applying adhesive powder, curing it, and aligning the film on the garment. Each step builds toward a precise transfer, ensuring the image remains crisp and durable once heat pressed.
Next comes the heat press phase: applying heat and pressure, peeling at the right moment, and performing a final press if needed. Understanding these DTF transfer steps helps you anticipate potential issues like misregistration or ghosting and tackles them with proper alignment, temperature control, and careful handling. By following a clear sequence, you’ll improve consistency across projects and achieve professional-looking results.
Heat and Pressure: Optimizing Heat Press Settings for DTF
Optimizing heat press settings for DTF is central to getting vibrant colors and durable bonds. Typical guidelines call for a temperature range of 160 to 180 C (320 to 360 F) with medium pressure for 12 to 20 seconds, adjusted for fabric type and transfer film. Using a silicone sheet or parchment between the transfer and garment helps distribute heat evenly and reduces the risk of scorching.
Beyond the numbers, consider the peel style and post-press handling. Some films require a hot peel, others a cold peel, and choosing the right moment for peeling can affect edge quality and color saturation. Fine-tuning heat, time, and pressure for your specific fabric and DTF film will reduce ghosting, ensure a cleaner transfer, and extend the life of your design through repeated wear and washing.
Printer Setup for DTF: Calibrating Color and Film Workflow
Printer setup for DTF is about getting reliable color and consistent results from your print. This includes selecting the correct color profiles, ensuring the printer handles white ink or base properly, and using the appropriate DTF film. A well-calibrated setup supports accurate color reproduction, reduces oversaturation, and makes your designs pop on dark or light fabrics alike.
Alongside hardware, pay attention to color management within your design software and during the print workflow. Proper calibration ties into the broader concept of DTF printing basics and helps you achieve predictable results across runs. Remember to map inks, underbase where needed, and verify each print with a quick test to confirm that the final transfer matches your digital artwork before moving to the powder adhesive and curing stages.
DIY Garment Printing with DTF: Tips for Home Crafters
DIY garment printing with DTF empowers hobbyists and small creators to produce customized apparel at home. Start with fabrics like cotton and cotton blends, which typically yield the best results with DTF transfers, while keeping in mind that nearly any fabric can work with proper settings. Effective design prep—high-resolution artwork with appropriate color management—helps you maximize the impact of your designs in line with the DTF transfer steps.
As you set up a home workflow, consider practical aspects such as budget-friendly equipment choices, workspace organization, and safety. Use a flat, clean surface, a heat-resistant mat, and proper gloves to handle hot transfers. Over time, apply the DTF printing basics you’ve learned, integrate DIY garment printing with DTF into small runs, and refine your process for sharper images and longer-lasting wear.
Troubleshooting and Care: Ensuring Long-Lasting DTF Transfers
Even with careful planning, issues can arise during DTF transfers. Common problems include faded colors, powder not sticking, cracks in the finish, or edges lifting. Each symptom points to specific checks within your DTF transfer steps: verify printer settings and color management, confirm powder distribution and curing, and ensure proper heat and pressure during pressing. A systematic approach helps you quickly diagnose and fix the root cause.
Long-term care extends the life of your DTF transfers. After finishing, wash garments inside out in cold water, avoid high heat in the dryer, and consider air drying when possible. Proper care, plus attention to design placement and fabric choice, helps maintain vibrancy and durability, making DTF transfers a reliable option for DIY garment printing and small business projects alike.
Frequently Asked Questions
What are DTF transfers and how do DTF printing basics work?
DTF transfers are direct-to-film designs printed on a specialty film, then bonded to fabric with heat and pressure. In DTF printing basics, you may print the design with an optional white underbase, apply adhesive powder, cure it, and press the film onto the fabric. The result is vibrant color on a wide range of fabrics, including dark garments.
What are the essential DTF transfer steps for a successful DIY garment printing with DTF?
Core DTF transfer steps for DIY garment printing with DTF include: design prep, print on DTF film, apply and cure the adhesive powder, align the film on the garment, apply heat and pressure, peel the film, and perform a post-press finish and care steps.
What are the heat press settings for DTF transfers across fabrics?
Typical heat press settings for DTF transfers are around 160–180°C (320–360°F) for 12–20 seconds with medium pressure. Always test on a fabric swatch and adjust for different fabrics (dark fabrics may require a white base). Do not move the garment during pressing to avoid ghosting.
What should I consider in the printer setup for DTF transfers to ensure consistent results?
Printer setup for DTF transfers should use a DTF-capable printer or a conversion, ensure white ink is available for the underbase if needed, and apply proper color management with RIP software. Use the correct DTF film, adhesive powder, and curing method, and calibrate for consistent color and adhesion.
What common issues arise in DIY garment printing with DTF and how can I troubleshoot?
Common issues include faded colors, powder not sticking, misregistration, and edge lifting. Troubleshoot by checking printer color management and white base printing, ensuring even powder application and proper curing, realigning before pressing, and keeping the garment flat and clean during transfer.
What materials and care steps are recommended for DTF transfers?
Needed materials include DTF transfer film, compatible printer with white ink if required, DTF adhesive powder, a curing method, a heat press, silicone sheets, parchment paper, lint-free cloths, a squeegee, and color-management software. For care, wash inside out in cold water, avoid bleach and high heat, and air dry or use low heat to preserve vibrancy.
| Section | Key Points |
|---|---|
| What are DTF transfers |
|
| What you need to start |
|
| Step-by-step guide to applying DTF transfers |
|
| Troubleshooting common issues |
|
| Care and maintenance for longevity |
|
Summary
DTF transfers offer a versatile, beginner-friendly path to turning ideas into wearable art. By understanding the core concept of direct-to-film printing and following a clear step-by-step process—from selecting high-resolution designs to printing on film, applying adhesive, curing, aligning, and heat pressing—you can produce durable, vibrant designs on cotton, blends, and more. With proper care, DTF transfers resist cracking and fading while offering flexibility to print on a variety of garment types and colors. For best results, invest in quality film, maintain consistent heat pressing temperatures and times, and follow fabric care guidelines to extend the life of your designs. Whether making one-off shirts or launching a small line, DTF transfers empower creators to realize bold designs with relative ease.