The DTF Gangsheet Builder is an innovative tool transforming the landscape of custom fabric printing. By leveraging the power of DTF (Direct to Film) printing technology, users can achieve vibrant, high-quality prints with unparalleled ease. This guide will walk you through the essential steps for mastering gang sheet setup, ensuring you maximize efficiency and creativity in your printing projects. Whether you’re a small business owner or a hobbyist, the DTF Gangsheet Builder allows you to produce multiple unique designs on a single sheet, streamlining the heat transfer printing process. Dive into this article as we provide expert advice for DTF printing, enabling you to elevate your craft to new levels.
The Direct to Film gangsheet creation process is revolutionizing the world of custom textile design. This method enables users to print multiple graphics on a single transfer sheet, optimizing material use and time efficiency. Utilizing heat transfer technology, this approach is ideal for individuals and businesses looking to produce quality designs on various fabrics. Understanding the nuances of gang sheet design and setup is critical in achieving impressive results. In this guide, we will outline the step-by-step techniques necessary for effective implementation of this advanced printing method.
What is DTF Printing and How Does it Work?
DTF printing, or Direct to Film printing, is an innovative technique that allows for high-resolution designs to be printed onto a special transfer film. This method is notably different from traditional printing approaches as it provides enhanced color vibrancy and the ability to print on a wider range of materials, such as cotton or polyester blends. The DTF process includes preparing the artwork, printing it onto the transfer film, applying an adhesive powder, and finally heat pressing the image onto the desired fabric. This versatile method has transformed the custom fabric printing industry by enabling users to produce intricate designs efficiently.
One of the key advantages of DTF printing is its ability to produce multiple designs on a single sheet, known as a gangsheet. This not only maximizes ink usage but also reduces the time involved in the setup and application process. The DTF gangsheet builder tool simplifies the arrangement of various graphics on one transfer sheet, allowing businesses and individuals to make the most of their resources. Understanding this technology is essential for anyone looking to enter the custom printing market or enhance their existing capabilities.
Step-by-Step Guide to Using a DTF Gangsheet Builder
Using a DTF gangsheet builder requires a systematic approach to ensure optimal results. The process begins with gathering all necessary materials, including your DTF printer, transfer film, adhesive powder, and heat press. Next, it is critical to create compelling designs using graphic design software while ensuring that the resolution meets the required quality standards, typically around 300 DPI. Afterward, you’ll proceed to set up the gangsheet layout, strategically arranging your designs to best utilize the transfer area.
Once the designs are arranged and finalized, the next steps involve printing them onto the DTF transfer film and applying adhesive powder over the wet ink. Proper curing of the adhesive is crucial, as it prepares the design for heat transfer onto the fabric. Following these steps accurately will ensure that the printing process runs smoothly and produces high-quality results. The advice for DTF printing emphasizes the importance of precise temperature and pressure settings during the heat pressing phase, which must be tailored depending on the fabric used.
Tips for Effective Gang Sheet Setup
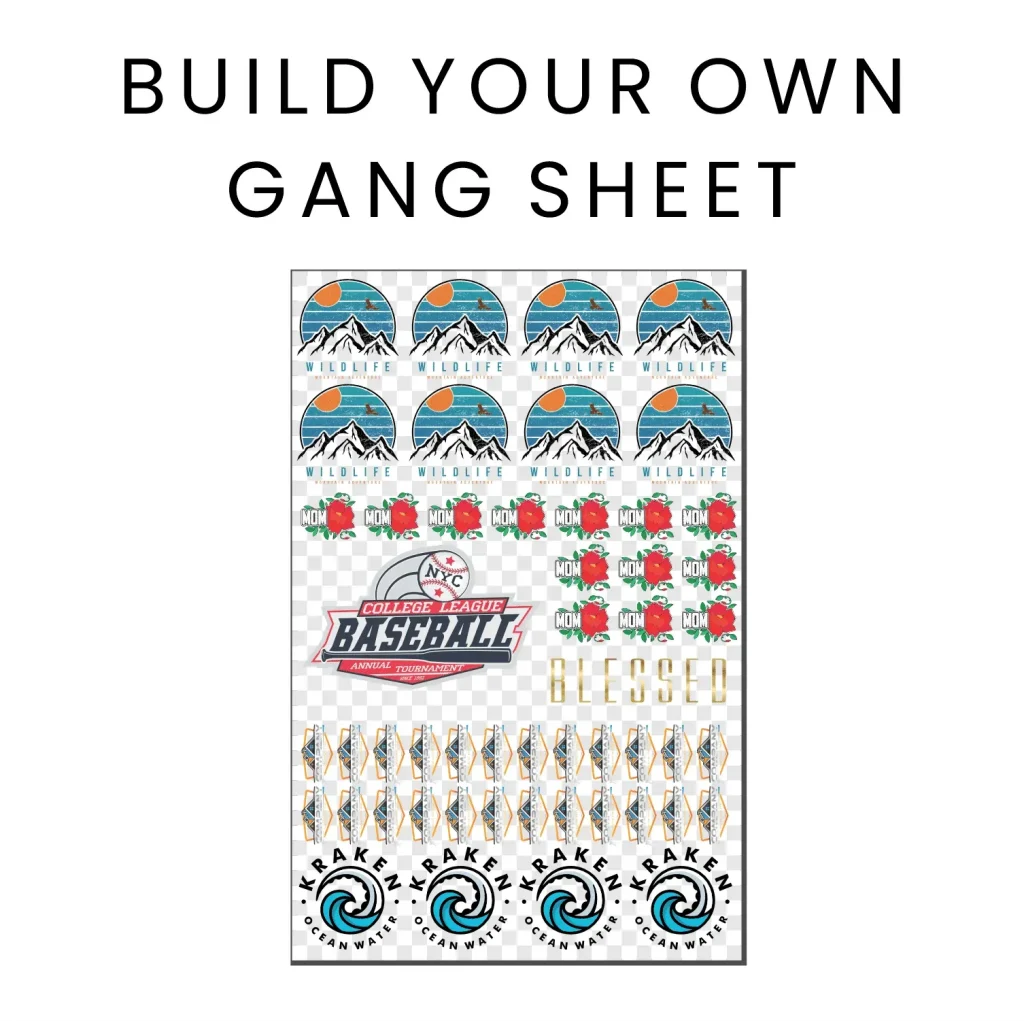
To maximize the efficiency of your DTF gangsheet setup, consider organizing your designs in a way that optimizes space and minimizes waste. Use guidelines and grids in your graphic design software to ensure that designs are aligned correctly with appropriate spacing between them. This careful arrangement allows for multiple designs to be transferred simultaneously, saving both time and resources. Additionally, grouping similar colors or themes can enhance the visual appeal of the overall print.
Another critical tip is to thoroughly check printer settings before commencing the print job. Ensure that the DPI is correctly set according to the specifications of the transfer film, and that the right color profiles are selected to match the anticipated fabric and ink types. These adjustments are crucial as they directly impact the final quality of the prints. By paying attention to these small details, you can significantly improve the final product.
Understanding the Importance of Adhesive in DTF Printing
The adhesive powder used in DTF printing is a vital component that ensures the ink adheres well to the fabric during the heat transfer process. After printing your designs onto the transfer film, applying the adhesive powder while the ink is still wet is essential for achieving strong durability in your printed designs. Even coverage is key; therefore, it is advisable to sprinkle the adhesive powder uniformly, allowing it to form a bond with the ink without damaging the print.
Once the adhesive powder is applied, curing is the next crucial step. This curing process helps bind the adhesive to the ink, ensuring it withstands the heat applied during transfer. The specifications for curing will vary, but typically you’ll want a temperature around 350°F for the optimal time duration. Neglecting these important steps can result in subpar adhesion and affect the longevity of the print, making it essential to follow the guidelines closely.
Essential Printer Settings for DTF Printing
To achieve stunning results in DTF printing, understanding and adjusting printer settings is paramount. Before you begin your print job, confirm that your DTF printer is calibrated accurately to work with the transfer film type you are using. This includes ensuring that ink levels are sufficient and the print heads are adequately cleaned to avoid any clogs that could compromise print quality.
Additionally, pay attention to the settings related to DPI and color profiles. DPI directly impacts the detail and quality of your print; using a higher DPI setting is often recommended to obtain the sharp intricacies of your designs. Matching the color profiles to your fabric will also yield the best results, as different substrates might require adjustments in color settings to ensure that the final result aligns with your design expectations.
Post-Pressing Care for DTF Printed Fabrics
After using a heat press to transfer your designs from the DTF transfer film onto the fabric, careful handling is essential to preserving the quality of the print. Once you peel away the transfer film, allow the fabric to cool slightly before handling it. This cooling period helps solidify the adhesion between the ink and the fabric, reducing the risk of the print being lifted or damaged.
Moreover, for DTF printed materials, it’s advisable to follow specific care instructions to maintain the vibrancy and durability of your designs. Washing the fabric inside out in cold water and avoiding bleach will help preserve the quality of the print over time. Understanding these post-pressing care techniques is crucial for anyone involved in custom fabric printing, ensuring that the finished products meet consumer expectations and withstand the test of time.
Frequently Asked Questions
What is a DTF Gangsheet Builder and how does it work?
A DTF Gangsheet Builder is a tool that helps users efficiently arrange multiple designs on a single sheet for DTF (Direct to Film) printing. This method maximizes efficiency and material usage by allowing several custom fabric prints to be created at once. By properly setting up the gangsheet, you can ensure high-quality prints while reducing time and costs in the printing process.
How do I set up a gang sheet for DTF printing?
Setting up a gang sheet for DTF printing involves arranging your designs in graphic design software to fit the dimensions of your DTF transfer film. Ensure each design is spaced correctly to prevent overlap, and save the file in a print-friendly format like PNG or TIFF. Proper arrangement is crucial for optimizing the printing process and achieving vibrant printed results.
What are the benefits of using DTF printing over other methods?
DTF printing offers several benefits, including the ability to print vibrant colors on a wider variety of fabrics, including cotton and polyester. Unlike traditional heat transfer or screen printing, DTF does not require a complicated setup or large minimum quantities, making it ideal for custom fabric printing. Additionally, gangsheet setup in DTF printing allows for efficient production by combining multiple designs into a single print run.
What materials are compatible with DTF printing?
DTF printing is compatible with a variety of materials, particularly textiles such as cotton, polyester, and blends. The versatility of DTF allows for high-quality results on different fabric types, making it suitable for custom apparel, bags, and other textile projects. Always check the material compatibility for optimal adhesion during the heat transfer process.
Can I use a DTF Gangsheet Builder for small-scale projects?
Yes, a DTF Gangsheet Builder is excellent for both small and large-scale projects. For small-scale custom fabric printing, it allows users to create multiple designs efficiently without wasting material. This flexibility makes it a popular choice for hobbyists, small businesses, and anyone looking to produce unique designs with less effort.
What tips can you give for perfecting DTF printing with a gangsheet builder?
For perfecting DTF printing using a gangsheet builder, consider the following tips: ensure your designs are at a minimum of 300 DPI for quality prints, calibrate your DTF printer settings correctly, and conduct trial prints to fine-tune your method. Additionally, always apply adhesive powder evenly and cure the print properly before heat pressing to ensure the durability and vibrancy of the final product.
| Step | Description |
|---|---|
| 1 | Preparation: Gather all materials (DTF printer, transfer film, adhesive powder, etc.) |
| 2 | Design Creation: Use graphic software to create or import designs with at least 300 DPI. |
| 3 | Gang Sheet Setup: Arrange multiple designs on a single film to maximize printing efficiency. |
| 4 | Printing: Print the arranged gang sheet on the DTF transfer film at correct settings. |
| 5 | Applying Adhesive Powder: Evenly cover the wet ink with adhesive powder immediately after printing. |
| 6 | Curing: Cure the printed film with heat to bond the adhesive to the ink. |
| 7 | Heat Pressing: Transfer the design onto fabric at the appropriate temperature and time. |
| 8 | Finishing Touches: Cool down and carefully peel off the transfer film to reveal your design. |
Summary
The DTF Gangsheet Builder is an innovative tool that streamlines the custom printing process, enabling users to produce high-quality and vibrant designs on various textiles. This detailed guide provides an easy-to-follow approach to mastering the DTF printing technique, from preparation to the final press. By leveraging the unique capabilities of DTF printing, you can maximize efficiency and creativity in your projects, giving your prints a professional finish. Explore the power of DTF gangsheet building today and transform your apparel and fabric printing endeavors!